Import options
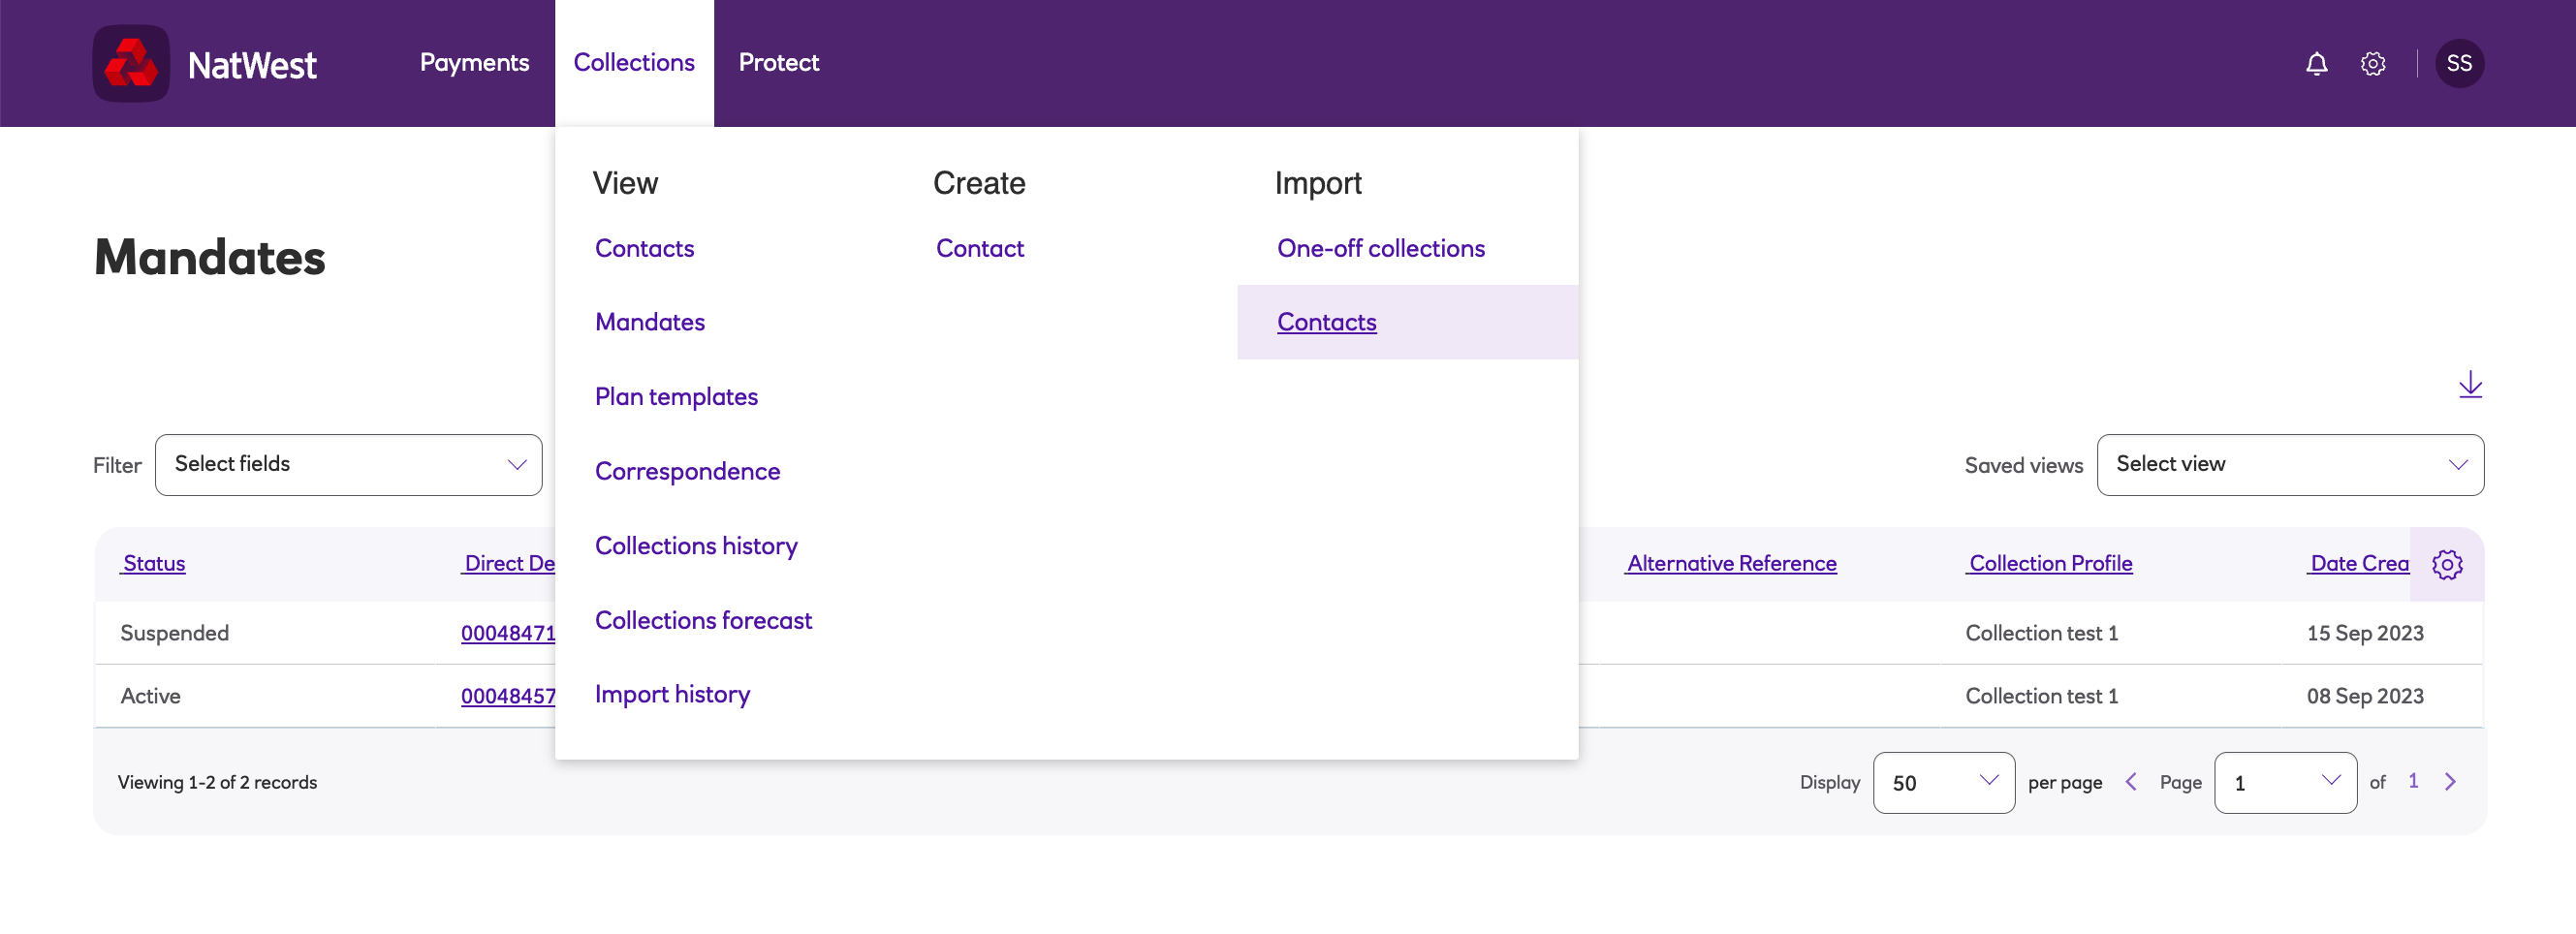
The Import menu contains two options for importing collections data into Autopay Online Plus:
- Contacts - This option allows you to upload contacts and mandates data into the solution.
- One-off collections - This option allows you to upload data for one-off collections for existing mandates.
Contacts
You can upload contacts data into Autopay Online Plus and update associated mandates by importing a .csv file.
The file must:
- be in ASCII, comma-separated values (CSV) format
- contain a header that has the list of all the fields in the order they are to be specified in the file
- contain at least one entry.
Firstly, create an .xls file to make all your changes then save it as a .csv file. The file should have the fields:
- Contact Reference - mandatory field (if existing contacts). If the entry specified in the file is meant to update an existing contact, then the reference must be present. Maximum of 32 characters. However, this can be left blank, if a new contact in which case the system will generate a unique ID.
- Mandate Reference – mandatory field. The Direct Debit reference for your payer. This needs to be unique to the instruction being set up and should be between 6 - 18 characters.
- Mandate Status – active (default), suspended, cancelled, deleted, draft
These fields below are self-explanatory but they are your customer’s details.
- Title – this can be left blank or Mr, Mrs, Miss, Dr
- First Name - max 32 characters
- Last Name - mandatory field, max 32 characters
- Company - company
- Street 1 – mandatory field, max 60 characters
- Street 2 - second line of address.
- Street 3 - third line of address.
- City - city.
- Post code – mandatory field
- County - county
- Country - country
- Telephone - telephone number
- Email – mandatory field if sending letters by email, max 128 characters
Then you can import the file:
- Navigate to the Collections menu and click Contacts under Import.

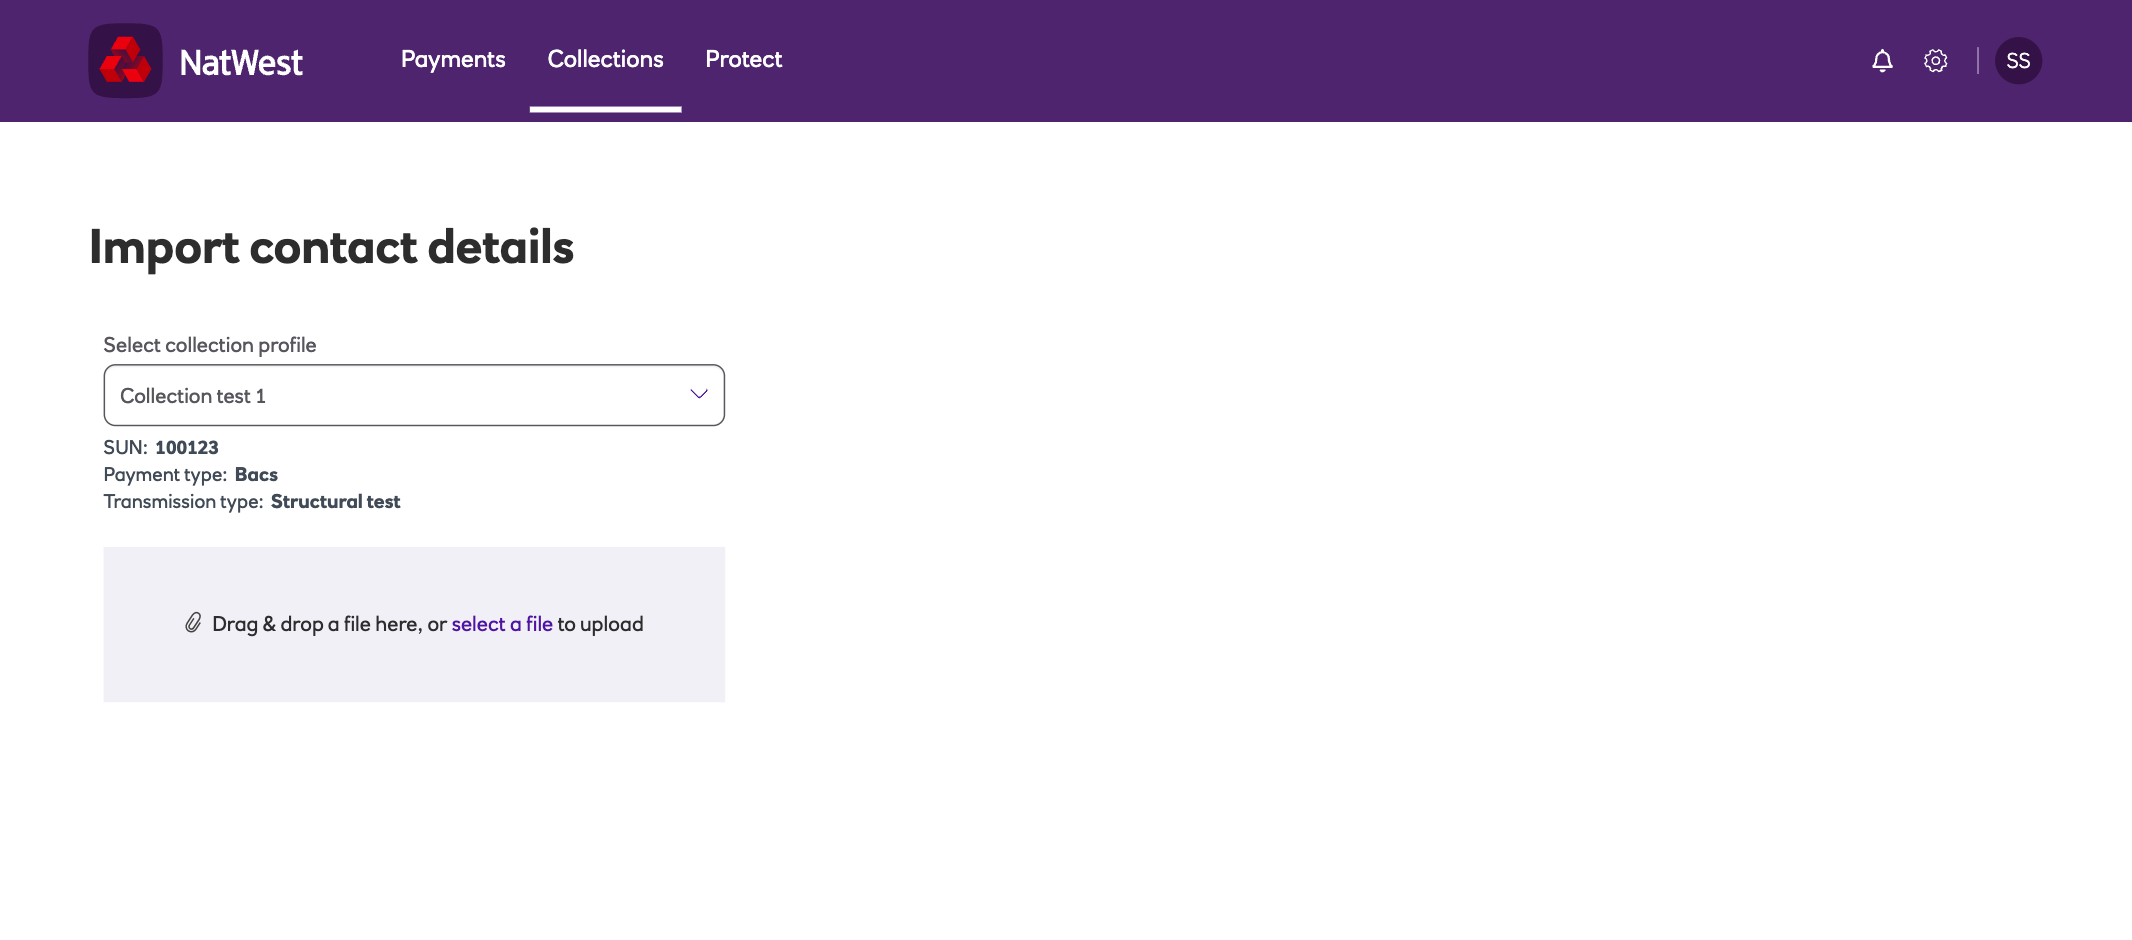
- Select the collections profile from the drop down menu.

-
Drag and drop the required file into the zone, or select a file to upload from a saved directory.
-
You will then see which records have been imported and a summary at the top containing the Records found and the Total imported. Use the Filter to search for particular records.
-
You can also access import history by navigating to the Collections menu and clicking Import history under View.
-
You can view the contacts imported on the Contacts screen.
Note
You cannot automate the file import using the Drive module.
One-off collections
You can upload data for one-off collections by importing a file. If you have ordered the Drive module then you can automate the file import.
The file must:
- be in ASCII, comma-separated values (CSV) format.
- contain at least one entry.
- NOT contain a header row.
The file should have the following fields:
- Mandate Reference – mandatory field. The Direct Debit reference for your payer. This needs to be unique to the instruction being set up and should be between 6- 18 characters.
- Amount – mandatory field
- Date – mandatory field
- Comments - Optional field
- Transaction Code - optional field, NatWest Autopay Online Plus will automatically calculate which code should be used based on the mandate history.
Then you can import the file:
-
Navigate to the Collections menu and click One-off collections under Import.
-
Select the collections profile from the drop down menu.
-
Drag and drop the required file into the zone, or select a file to upload from a saved directory.
-
You will then see the outcome of the import with a summary at the top containing the records found and the total number of records imported.
-
For easy reporting, the Filter menu will allow you to locate particular records based on each header.
Updated about 1 month ago
